HTML Tutorial: Page Formatting
Watch more HTML Tutorials videos: http://www.howcast.com/videos/480438-HTML-Tutorial-Page-Formatting
“Hi, I am Daniel Davis. I am a certified computer expert and tech guru. Along with having one of the top tech channels on youtube, my work has also been featured in textbooks, software guides, and hundreds of popular tech blogs. And today I am going to be talking to you about HTML.
Html is the coding language that webpages are written in. To create a basic webpage all you need is a text editor, such as notepad in Windows or Text Edit in Mac and a web browser.
Html separates the different sections of the webpage using what’s called markup tags. These are characterized by angled brackets. Within the website you’ll see a head section and a body section. The body section is where the content of the webpage goes.
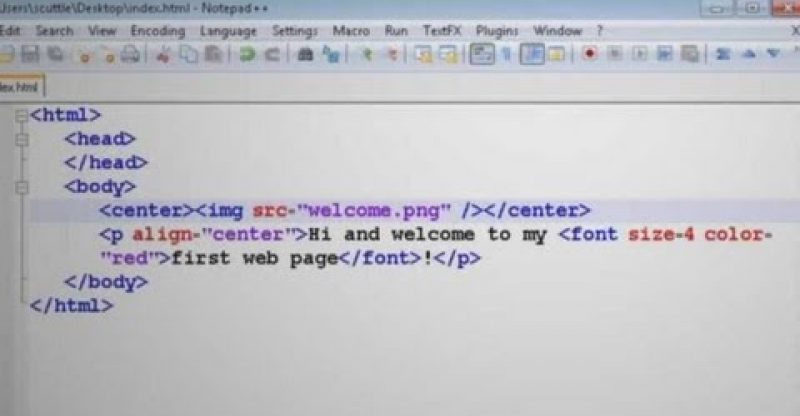
To add text to your webpage, you can use the p markup tag for paragraph. Add your text and then close off the markup tag like this. In order to align the text to the page you need to add what’s called an attribute to the p tag that reads align equals center or right or left depending on how you want it align it.
By adding a font tag you can add size and color attributes to change the size and color of the font. Anytime you want to preview your webpage just save it as an html file and open it up in a web browser.
Likewise to add a picture, you can add an img markup tag and use the src attribute to set it equal to the image location. You can use the center tags to align it to the center of the page. By adding attributes to the body tag you can change the settings for the entire page. For instance you can set the background color , the background image and the text color from here.
When it comes to formatting pages, the basic approach would be to add page breaks like this which breaks the content into separate lines. Or you could use horizontal rules like this, which separates content using a horizontal line.
A more advanced way though would be to use tables. To create a basic table you start by adding the table markup tags, then in between them you can add the row markup tags. You can add an opening and closing row tag for however many rows that you want in the table. Then in between each row tag, you want to add the data cell tags which will create the columns. If I add 2 columns to the first row then to keep the table even, I need to add 2 columns to each of the remaining rows. It’s in between these td tags that you’ll place your content.
Like with all the other previous markup tags, you can add attributes to change the look of the tables, such as the background color, the border size, cell padding and alignment. If you want the table to be invisible, just set the border size to zero.
Another option you have for organizing your content is through using lists. There’s 2 types of lists, numbered or organized listed denoted by the ol markup tag, and bulleted or unorganized lists denoted by the ul markup tag. Each item in the list will be surrounded by li markup tags to show that they are list items.
So that should get you started with getting your webpage data formatted and organized.
”
source


