How to Set-Up & Install XAMPP localhost (test php locally & change port number)
Want to test your php site on your own computer before publishing it live for the world? Use XAMPP & eliminate the need to ftp every time you make a change. A browser like chrome can always view html files & css, but can’t render PHP files on its own. You need some sort of server.
➤Download https://www.apachefriends.org/download.html
-Ignore the “User Account Control” warning on windows
-Select all components (or none, the important one is PHP)
-On Windows: don’t install to “Program Files”, put it somewhere else
-Start the xampp control panel
-Click “Start” next to the Apache server (this allows you to run php files)
➤Viewing Pages
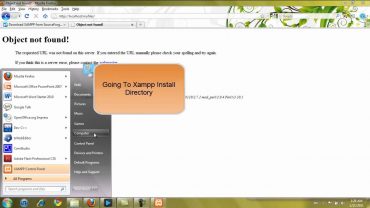
-Find the installation directory
Windows= C:xampphtdocs
Mac= /Applications/XAMPP/htdocs
-Then “htdocs” inside which holds all the files you can view
-Put a folder like “test” inside “htdocs”
-Any php files you place there can be accessed via “localhost/test”
-Normal html relative links work for navigating up & down folder trees
➤Notes
-Click “Config” in upper left
-Under “Autostart of Modules”, click the checkbox next to “Apache”
–This makes the Apache server start every time you open the Control Panel
➙You can close the xampp control panel & the apache server keeps running
-Don’t open the control panel by clicking the shortcut
-Instead, use the active control panel in the bottom right (notification area)
➤Port Number Changes
Details http://stackoverflow.com/questions/11294812/how-to-change-xampp-apache-server-port
-Click “config” next to the “apache” server
-edit the “http.conf” file or “httpd.conf”
Windows= C:xamppapacheconfhttp.conf
Mac= /Applications/XAMPP/xamppfiles/etc/httpd.conf
-Edit 2 lines to change to port number
-“Listen 80” & “ServerName localhost:80”
-Save the file
-Restart the apache server
-Access your new server “localhost:90/test” (90 is the new port)
source


