


How to Create a Menu in WordPress
Make Your WordPress Website in 10 Mins ➜ https://youtu.be/YWA-xbsJrVg
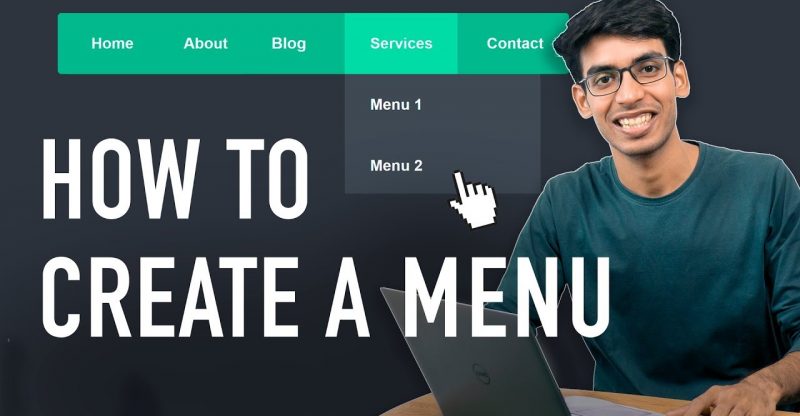
Watch How you can Add a Menu in WordPress, (including creating a Drop-Down Menu)
Menus in WordPress are a great navigation tool which allows users to freely browse through the content of your website without any confusion.
WordPress menus are essential in development of a website which provides structure to your website by arranging the content in an organized manner.
Now, in our previous video, you learned – How to Make a Website in 10 minutes. Now, let’s see, How you can change the Menu of that WordPress Website.
To do this, you can follow these 3 steps (with timestamps)
1. Delete Existing Menu ( 00:40 )
2. Adding a New Menu ( 01:05)
3. Creating A Drop-Down Menu ( 03: 49)
Let’s get started.
Step 1: Delete Existing Menu
To delete the existing Menu,
First go to your WordPress Dashboard and then click the ‘Customize’ option.
Under Customize, Select ‘Menus’
Here, you’ll find that there is already a Menu called “Top Navigation”. So, when you click this Menu, you’ll see the items that is there in it.
Now, this menu can be deleted by clicking the ‘Delete Menu’ button at the bottom part of the screen. Once done, the Menu will be removed.
Step 2: Add a New Menu
Now to Create a New Menu, First Click ‘Create New Menu’ button.
Next, you need to give a name of your choice for the new menu. For example, you can enter the name as ‘Top Menu’ and once done, you need to choose where the Menu should appear on your website.
Based on the WordPress theme you’re using, you can place the Menu on different areas of your website.
Each theme will provide different options on where the Menu can be placed.
Example: With the Astra theme, we’re using, it shows primary and secondary menu.
So, if you select the Primary Menu then it will place the menu on the top right corner of your website.
After choosing, you can click ‘Next’.
Then, you can start adding items to the Menu. Here, you’ll find the pages section where all the pages that you’ve in your website will be shown.
Now, If you want to see the pages and its content, you can go to your WordPress Dashboard and Click ‘Pages’. So, the pages which you see here will be shown in your menu items.
So, To add the pages to the Menu, Press the ‘Add Symbol’ and the page will be added to the Menu. Similarly, you can add the other pages also.
After you’ve added the items, you’ll be able to see your menu. Now, you can change the order of the menu items by dragging an item and placing it where you want. Doing this will change the order of the menu items.
So Next, let’s see how you can add a brand new page to the menu which is not on your site yet.
So, to add a brand new page to the menu, all you need to do is, enter the name of the page you want to create and then click ‘add’ to get it into the menu.
After adding, You can now click ‘publish’ to see your NEW MENU.
However, since you’ve created a new page, it will be blank by default. So, You can later add the content to this new page by clicking ‘Edit’ option in Pages.
Step 3: Create Drop down Menu
Here, let’s see how you can create a drop down Menu. Drop Menu is a very effective way to categorize the content and showcase them independently. A drop down menu can be easily created by just dragging an item in the Menu and putting it below another item.
After doing this, you can see that you have a drop down menu created.
Repeat the same process whenever you want to create various drop down menu.
So now you know how you can add the pages you’ve created to your drop down menu.
That’s it! This is how easily you can Create A New Menu or Create Drop down Menu in WordPress.
Get a Free Business Email Address ➜ https://youtu.be/xAw57WUPY2w
Watch more tutorials, by going to our channel ➜ https://youtube.com/websitelearners
Also, Like, Share & Comment. [It encourages us to make more tutorials like this one!]
And Subscribe to Website Learners : https://goo.gl/SBC2zU
Thank you 🙂
source


